Wednesday, April 6, 2011

Danbo stuck in the sea

I kno u guys have been very patient, so here's some new danbo....all part of an exerciseand experiment.....let me know what u think.....
well......here's some inside news......workin on a short anim.....test renders goin on as I type....*fingers crossed....ta taaa


better res images ---> http://goutham9986.deviantart.com/#/d3dcrp5
http://goutham9986.deviantart.com/#/d3dcrsi

Friday, December 17, 2010

Wednesday, December 15, 2010

Thursday, November 18, 2010

Notes 08: Tone Mapping

Tone Mapping:
refers to the technique of adjusting the colours of the rendered image in a camera in order to bring them within a value range that looks better on a computer screen

This is usually used when using techniques such as IBL or physical sun. It is also used when using the mia materials. these are physically accurate and menat to simulate the materials in the real world.

1: render


2: go to cam under mental ray, click on the checker box of lens shader and select mia_exposure_simple


3: set pedestel to a negative level. It decreases the level, this adds black
gain increases the over all brightness, so devrease gain. Knee is used for fine tuning.

Notes 07: Physical sky

Physical sky:

1: create physical sky


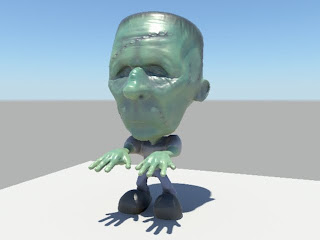
2: rotate the light to make it look like early morning


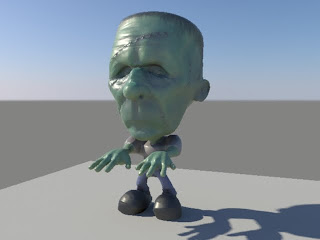
3 rotate it to make it face the camera, eveningish


down - noon
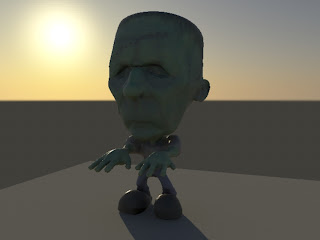
parallel to the horizon - late evening


the light attributes can not be controlled under the directional light options, to change the colour etc we must go to the mia_physical sky tab
multiplier- increases or decreases the light intensity by the value
haze- adds haze
RGB shift - changes to warmer n cooler colour + wwarmer colour, - cooler colour
to get rid of the horizon decrease the horizon height
sun disc intensity increases the disc intensity
sun disc scale changes the scale of the physical sun
glow intensity changes the intensity of the glow
the background is in the alpha so we can edit it in the compositing softwares

when we create a new camera our render shall appear more different than how it os supposed to look when rendered through that camera
when we add the physical sky to the scene the cameras like the perspective ones shall add a mental ray shaders to it under mental ray tab
environment & lens shader
to fix this waht we will have to do is go under the mia_physicalsky1 attribute editor and then scroll to the very bottom and click on update camera connections

Notes 06: FG 2

1: off default light, render


2 FG increased accuracy, secondary diffuse bump
apply lambert to the objects in the lamp, change colour then a
lighter version of it to the incandescence


3: Create a plane with a lambert shader colour white
a lil bit of incandescence (greyish)
the under render stats unchecked cast shadows, recieve shadows, primary visibility


4 Increase the V value in the Incandescence

No lights used here ^_^ just object shaders :P

Notes 05: GI & FG

1: Lamp light - area light shape sphere


2: Create a spot light to cast the photons
Switch on GI
increase GI photons


3: increase accuracy, decrease scale colour


4: Activate FG then increase the secondary diffuse bounce